Mastering Real Estate Photography: From Prep to Perfection
In the world of real estate, a picture is indeed worth a thousand words, if not more. When potential buyers or renters scroll through online listings, the first impression they get is often through the lens of a camera. Thus, real estate photography plays a pivotal role in showcasing a property’s true potential and attracting prospective clients. In this extensive guide, we’ll dive deep into the world of real estate photography, focusing on what you should emphasize before, during, and after the shoot. So, let’s embark on this journey to capture homes at their best!
Before the Real Estate Shoot
Before you even pick up your camera, there are critical preparatory steps that can make or break your real estate photography session. The goal here is to ensure that the property looks its absolute best when the shutter clicks.
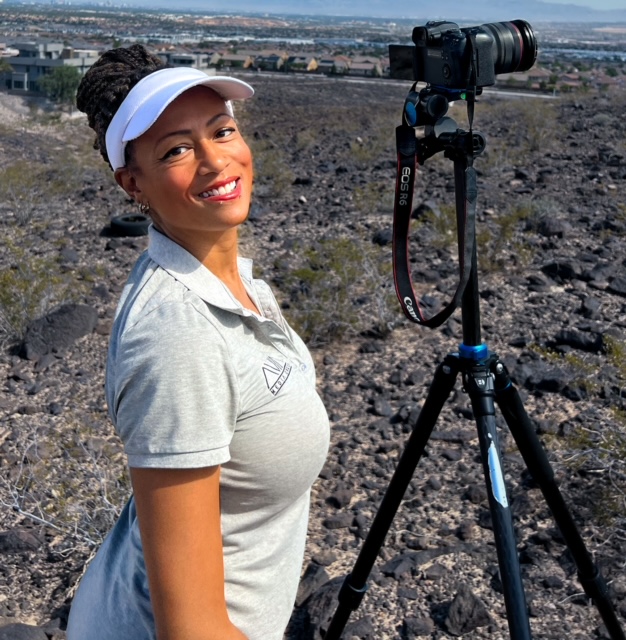
- Know Your Equipment: While you don’t need the fanciest camera gear, having the right equipment is essential. Invest in a good-quality DSLR or mirrorless camera with a wide-angle lens. A tripod is a must to maintain steady shots, especially in low light conditions.
- Plan Your Shots: Before arriving at the property, plan your shots. It’s crucial to capture the essence of the home while highlighting its strengths. Generally, you should focus on:
- Wide-Angle Shots: Take at least two wide-angle shots of each bedroom, the kitchen, and the living room. Wide-angle lenses help capture more of the room in a single frame, making spaces appear larger and more inviting.
- Bathroom Shots: Typically, one photo of the bathroom is sufficient, unless it’s exceptionally beautiful or spacious. If there are unique features like a luxurious bathtub or intricate tile work, be sure to capture them.
- Backyard Views: For the backyard, one to three photos should suffice, unless it boasts unique features like a pristine pool or a landscaped garden. Make sure to showcase these elements.
- Key Features: Don’t forget to snap shots of essential areas like the laundry room, garage, and pantry. These might seem mundane, but they can be deal-breakers for some buyers.
- Lighting is Everything: Proper lighting can transform a space. Natural light is your best friend. Shoot during the day when sunlight floods in through windows. Avoid harsh shadows by using soft, diffused lighting techniques. Experiment with bracketing for HDR (High Dynamic Range) photos to capture details in both bright and shadowed areas.
- Declutter and Stage: Encourage the homeowner to declutter and depersonalize the space. Clear countertops, hide personal items, and arrange furniture for an open and inviting feel. Consider staging the home with tasteful decor to help potential buyers envision themselves living there.
- Camera Settings: Set your camera to the appropriate settings. Use a low ISO for minimal noise, a narrow aperture (higher f-number) for deep depth of field, and a tripod to eliminate camera shake.
- Take Test Shots: Arrive early and take test shots to assess the lighting and composition. Adjust camera settings accordingly to ensure your final shots are pristine.
During the Las Vegas Real Estate Shoot
Now that you’re on-site and prepared, it’s time to capture the property’s charm and character.
- Exterior Shots: Start with exterior shots. Capture the property from various angles to showcase its curb appeal. Ensure that the front yard, landscaping, and any unique architectural features are highlighted.
- Room Sequence: Stick to a consistent room sequence to avoid confusion for viewers. Begin with the exterior and entryway, then move on to the living room, kitchen, bedrooms, and bathrooms.
- Composition: Pay attention to composition. Use leading lines, framing, and the rule of thirds to create visually appealing images. Avoid converging lines, where vertical and horizontal lines appear to meet in an awkward manner.
- Multiple Angles: Don’t settle for one angle per room. Capture different perspectives to showcase the space comprehensively. Experiment with both landscape and portrait orientations.
- Focus on Details: Highlight unique architectural features, like built-in bookshelves or crown molding. Showcase the quality of materials and finishes.
- Natural Flow: Aim for a natural flow in your photos. Arrange furniture and props to lead the viewer’s eye through the room. Capture shots that showcase the transition from one space to another.
- HDR Photography: For scenes with challenging lighting conditions, use HDR photography techniques. Bracket your shots by taking multiple exposures, then blend them in post-processing to reveal details in highlights and shadows.
After the Real Estate Shoot
Your work doesn’t end when you pack up your gear. Post-processing and marketing are crucial steps to ensure your real estate photos shine.
- Post-Processing: Edit your photos to enhance colors, correct exposure, and remove any blemishes. Real estate photo editing software like Adobe Lightroom or Photoshop can be incredibly useful for this purpose.
- Consistency: Maintain a consistent style throughout your portfolio. This helps build your brand as a real estate photographer and creates a cohesive viewing experience for potential clients.
- Delivery: Deliver the final images promptly to your client. High-resolution images for print and web-optimized versions for online listings are typically expected.
- Portfolio Building: Continuously update your portfolio with your best work. Potential clients often review portfolios to assess your style and skill.
- Marketing: Market your services effectively. Create a professional website showcasing your portfolio, use social media to reach potential clients, and consider joining real estate photographer directories.
- Client Relationships: Nurture client relationships. Happy clients are more likely to recommend you to others and become repeat customers.
In conclusion, real estate photography is Las Vegas is an art and a business. By mastering the techniques discussed here and maintaining a strong work ethic, you can carve out a successful niche in this competitive field. Remember, your photos have the power to make properties come to life, and in doing so, they can open doors for both you and your clients in the real estate market.


